REVIEW · PRAGUE
Small-Group Walking Photo Tour of Prague
Book on Viator →Operated by Jan Miracky · Bookable on Viator
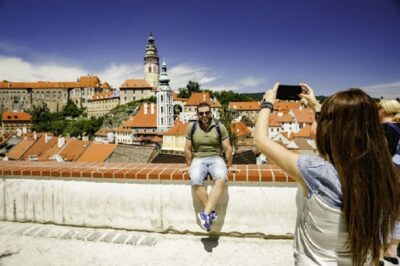
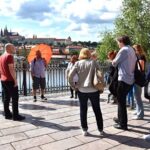
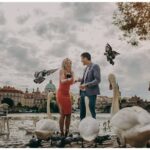
Prague is even better when you slow down. This small-group walking photo tour takes you through classic spots with an eye for how to frame them, from Charles Bridge angles to viewpoint shots from Letná. You’ll also get practical coaching on composition and even things like exposure time, not just where to stand.
I like two things most: you get plenty of personalized attention (it’s limited to just 3 photographers/participants), and the route mixes big-name landmarks with angles that feel more specific than the usual postcards. The pacing also makes it easy to learn without feeling rushed.
One thing to consider: it’s a walking evening tour with a moderate fitness level, and it’s only about 3 hours. If you want long sits, lots of indoor time, or full-on sightseeing depth, this may feel short.
In This Review
- Key things to know before you go
- Why a 5:00 pm Prague photo walk is a smart use of limited time
- Meeting at the Powder Tower and ending at the Old Town Bridge Tower
- Stop-by-stop: Charles Bridge angles that make the same bridge feel new
- Old Town Square: Týn Church, the Astronomical Clock, and a spiral staircase nearby
- Letná Park: viewpoints where Prague’s bridges and river line up
- Manes Bridge: architecture and abstract shots, plus cityscapes from the riverside
- Devil’s Channel: a quick stop with a strong name and mood
- The Castle-area finish: why ending with height changes your photo set
- How the photographer guide turns walking into real skills
- What to bring for the best Prague photo results
- Price and value: what $193 gets you (and what it doesn’t)
- Should you book this Prague small-group photo tour?
- FAQ
- FAQ
- How long is the Prague photo tour?
- What time does the tour start?
- Where do I meet the guide?
- Where does the tour end?
- Is admission included for the stops?
- What’s included in the price?
- Are food and drinks included?
- What group size should I expect?
- Is it suitable for kids or families?
- What’s the cancellation policy?
- What language is the tour offered in?
Key things to know before you go
- 3-hour evening timing starts at 5:00 pm, which is great for photography light and calmer street vibes.
- Tiny group size (max 3 travelers) means you’re not competing for the same spot in every photo.
- Professional guidance focuses on how to shoot: composition, exposure time, and on-the-spot feedback.
- Iconic stops plus variety: Charles Bridge, Old Town Square, Letná, Manes Bridge, Devil’s Channel, and a Castle-area finish.
- Bring comfy shoes. This is a walking tour built around footpaths and viewpoints.
- Food isn’t included, so plan a snack/drink before or after.
Why a 5:00 pm Prague photo walk is a smart use of limited time
A 3-hour photography outing is a good deal in a city like Prague because you get results fast. You’re not spending all evening trapped inside museums or hopping on transport loops. Instead, you walk between major scenes and practice seeing them differently.
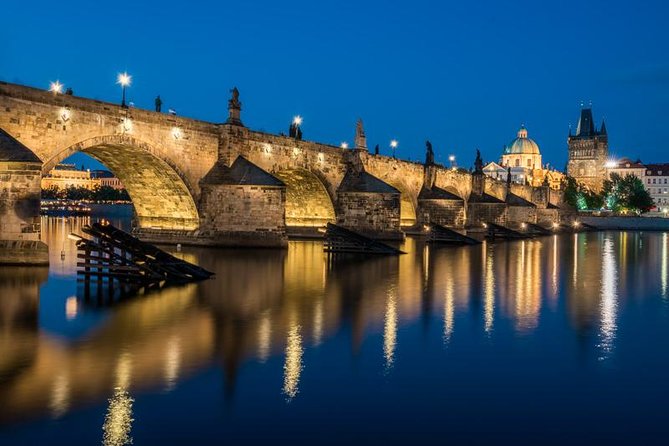
The time slot matters too. A 5:00 pm start usually gives you light that’s more forgiving for city photography than harsh midday sun. Even if weather changes your exact results, the tour structure still works: you’ll hit bridges, squares, and viewpoints in an order that helps you think about framing and distance as the light shifts.
And because the tour is capped at a maximum of 3 travelers, you’ll actually get to shoot. This is one of those rare tours where the “small group” isn’t just marketing math—it affects your photos directly.
You can also read our reviews of more walking tours in Prague

Meeting at the Powder Tower and ending at the Old Town Bridge Tower
You’ll meet at the Powder Tower area (Nám. Republiky 5, Staré Město). That’s a very central starting point, and it also sets you up for an easy flow into Old Town scenes.
You’ll finish near Karlův most (Old Town Bridge Tower). That endpoint is convenient because it’s a natural transition back into the rest of your evening—dinner, a tram ride, or a final wander without feeling like you’re ending in the middle of nowhere.
The “near public transportation” note is useful too. If you’re coming straight from elsewhere in Prague, you won’t have to overthink getting to the start.
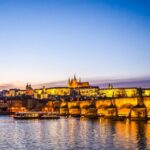
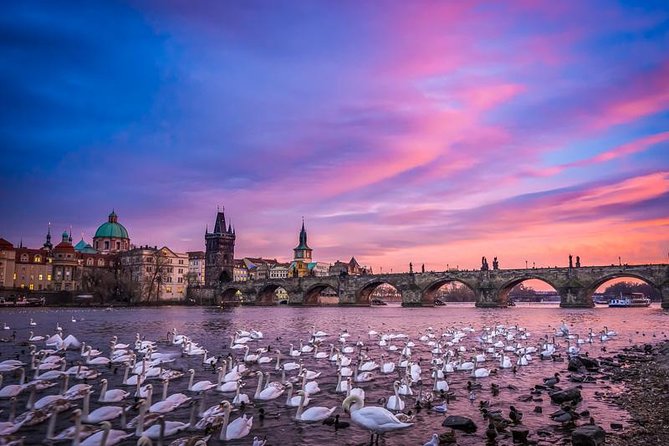
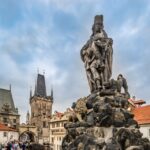
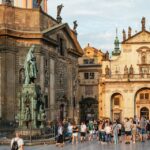
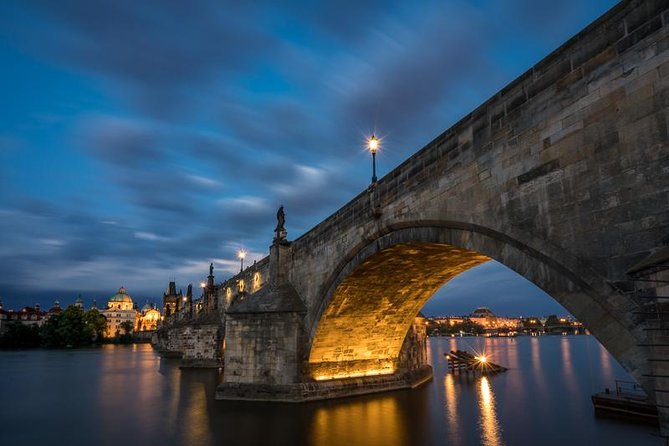
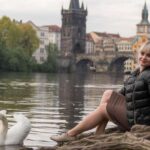
Stop-by-stop: Charles Bridge angles that make the same bridge feel new
Charles Bridge is the kind of place everyone photographs, which means your biggest challenge is doing something different with it. That’s exactly why this stop is framed around lesser-known angles, not just the obvious middle-of-the-bridge view.
In a short 20-minute window, you’ll want to work with a simple goal: shoot a few compositions, then adjust one variable at a time. For example:
- Try a wider view to show the bridge’s shape.
- Move for a tighter framing that emphasizes patterns and stonework.
- Watch how lines lead you toward the vanishing point.
This is where the coaching style really pays off. The guide’s job isn’t to tell you a single magic camera setting—it’s to help you understand why certain compositions work and what to change when they don’t. You’ll hear ideas on how to think in layers (foreground, midground, background) so the shot doesn’t look flat.
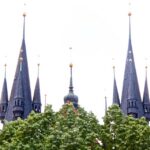
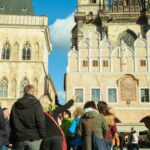
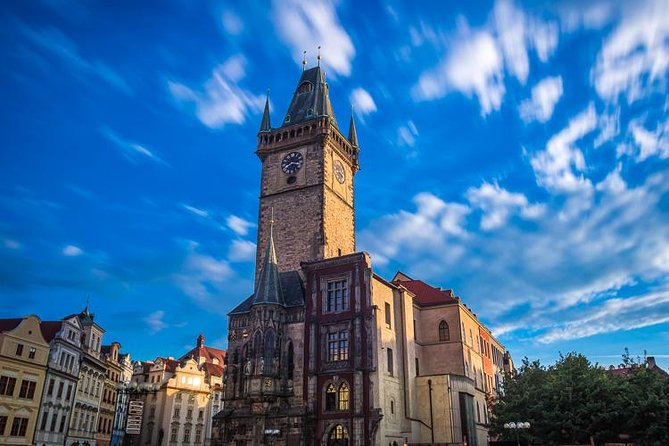
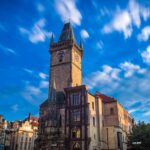
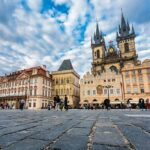
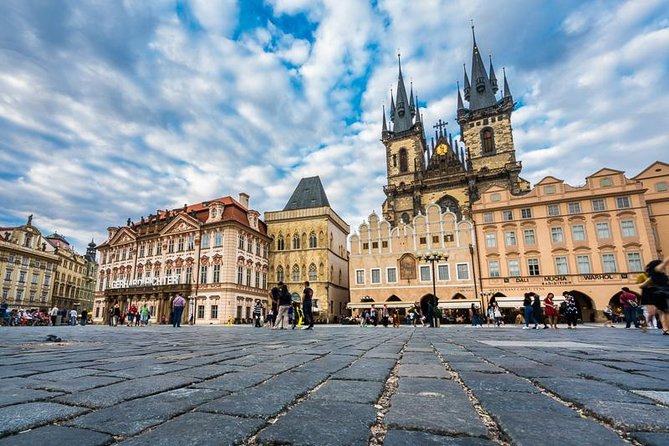
Old Town Square: Týn Church, the Astronomical Clock, and a spiral staircase nearby
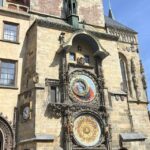
Old Town Square (Staroměstské náměstí) is visually loud in the best way. In 40 minutes, you’ll be in a concentrated zone of photo opportunities, including Týn Church and the Astronomical Clock.
The practical trick here is avoiding the “everyone shoots the same thing” trap. Instead of trying to capture everything at once, pick one anchor:
- Use Týn Church as a vertical counterpoint to make your frame feel tall and intentional.
- Include the Astronomical Clock as a focal point, then simplify the surrounding distractions.
- Look for the spiral staircase nearby, which can add a strong graphic element and help you create a shot with motion and curves.
This is also a place where exposure decisions matter. Bright stone, mixed skies, and crowds can all affect your results. The guide’s focus on exposure time and settings helps you get repeatable outcomes, even when the light changes minute to minute.
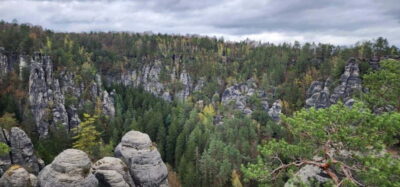
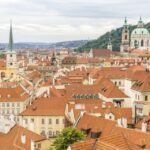
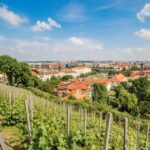
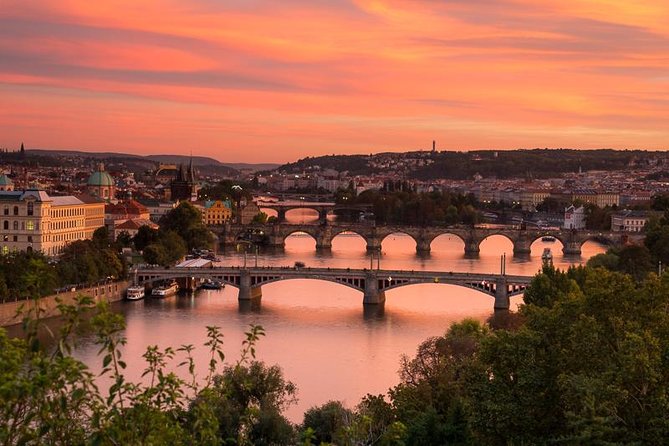
Letná Park: viewpoints where Prague’s bridges and river line up
Letná Park is one of those places where the city suddenly makes sense. With about 25 minutes here, you’re aiming for a different kind of photo than you took on the ground level in Old Town.
The tour’s emphasis is a viewpoint of Prague and the bridges over the Vltava River. That’s valuable because bridges act like leading lines across the frame. If you can position yourself to include the river and at least one bridge, you’ll get photos that look “designed,” even if you’re using a normal camera.
This is where I’d use any feedback you gained earlier. Think about:
- Where your horizon sits.
- Whether you want reflections or clean separations between water and buildings.
- How much sky you include.
Letná also tends to give you space to breathe. That makes it easier to practice technique without feeling boxed in, and it’s a nice contrast to the tighter feel of Old Town.
You can also read our reviews of more photography tours in Prague


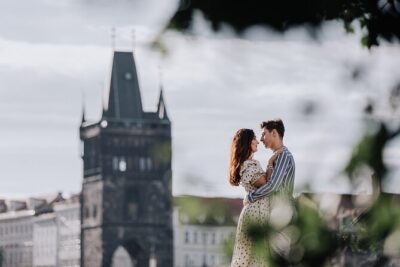
Manes Bridge: architecture and abstract shots, plus cityscapes from the riverside
Manes Bridge is the bridge stop for people who want more than postcards. You’ll have 30 minutes here, and the emphasis is on:
- architecture and abstract photography
- cityscapes of the riverside
Architecture shots are all about edges. Are they straight? Do they converge too much? Do they frame a subject? With Manes Bridge, you can experiment with geometry—especially if you change your height and angle instead of only zooming.
For abstract work, you’re not chasing a single landmark. You’re chasing shapes: repeating stone details, railings, and patterns created by the bridge structure and surrounding buildings. Even without fancy equipment, abstract photos often come down to one move: simplify your frame until only the strongest lines remain.
If you’re shooting riverside views, treat it like a composition lesson. The guide’s coaching style helps you avoid common mistakes like dumping too much information into the frame. You’ll come away with a better sense of what to include—and what to leave out.
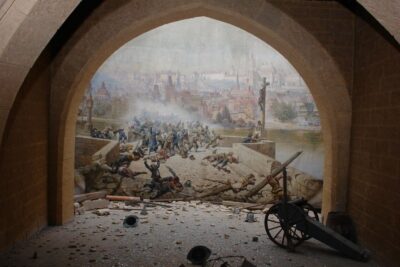
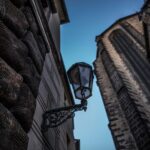
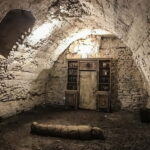
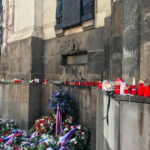
Devil’s Channel: a quick stop with a strong name and mood
You’ll spend about 15 minutes at Devil’s Channel. This is shorter than the other stops, which tells you what the tour is aiming for: a quick hit of atmosphere and a change of texture in your photo set.
Even if you’re not spending time reading signs or treating it like a major site visit, it still matters for your portfolio. A tour that includes only famous scenes can lead to a “same-photo-series” feeling. Devil’s Channel adds variety—usually the kind of place where you can play with shadows, narrow perspectives, and a more dramatic mood.
Use this moment to shoot something different from the bridges and squares—one graphic frame, one detail shot, and maybe one wider angle that shows the setting.
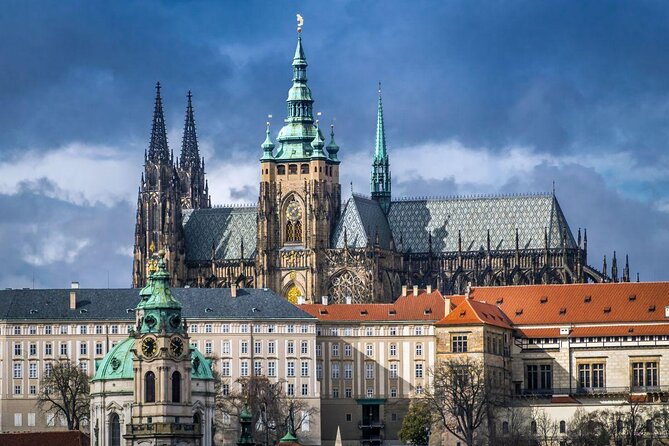
The Castle-area finish: why ending with height changes your photo set
The itinerary includes a final Castle stop, but the key takeaway for your photography is simple: ending with height and a landmark area changes your whole series.
When you finish near Prague Castle, your images can shift from riverside lines and square geometry into something more layered and monumental. Even with a short stop, you’ll have a chance to capture:
- broader city context
- a different scale of architecture
- a final “closing image” that makes your set feel complete
If you’ve been focusing on composition throughout the walk, this is where you can test the ideas you practiced—like leading lines, subject isolation, and balancing dark and light areas.
How the photographer guide turns walking into real skills
This tour is built around one big promise: you’ll learn photography techniques while you shoot, not just pose in front of famous buildings.
The guidance includes insights on composition and exposure time. That matters because it turns your camera from a random machine into a tool you can control. Instead of guessing, you learn how to adjust for light and subject contrast.
The coaching also sounds patient and practical. One reviewer highlighted how the guide encouraged their own choices and gave feedback tailored to their style rather than pushing a one-size plan. Another mentioned how comfortable they felt as a solo female traveler—useful context if you’re choosing a guide-focused activity and want to feel safe.
If you shoot with a tripod, you’ll be glad to know there was at least one mention of being able to rent one from the guide. That doesn’t mean it’s automatically available in every situation, but it’s worth asking at the start if you want extra stability for long-exposure-style effects.
What to bring for the best Prague photo results
Because this is a walking tour with viewpoints and bridges, your photo outcomes depend heavily on comfort. Plan for:
- Comfy shoes (this comes up for a reason)
- Your camera and whatever you need for settings changes on the move
- A spare memory card or extra battery (city light changes quickly)
Since food and drinks aren’t included, don’t assume you’ll be able to stop for a meal mid-tour. If you’re starting at 5:00 pm, eat earlier or plan to grab something after.
Also, because the tour is in English, you’ll get better results if you ask clear questions as you go. This is the kind of tour where your questions help steer your feedback—especially when the guide is working with a tiny group.
Price and value: what $193 gets you (and what it doesn’t)
At $193 per person, you’re paying for more than access to landmarks. You’re paying for:
- a professional photographer guide
- small-group attention (max 3 travelers)
- time spent on technique: composition and exposure-related tips
- a structured route that strings together multiple strong photo locations in one evening
Is it expensive? It can feel that way compared to standard walking tours. But standard sightseeing tours don’t give you feedback on your framing or camera settings. Here, you’re buying instruction plus shooting time plus a thoughtful route.
What it doesn’t include is also part of the value math: no food or drinks. If you need to budget for dinner or snacks anyway, plan for that rather than waiting until after.
If you want a photography-focused evening and you’ll actually apply the coaching, this price can work out well because you’ll likely leave Prague with a stronger set of photos, not just a pile of downloads.
Should you book this Prague small-group photo tour?
If you want to go beyond sightseeing and you care about learning how to shoot Prague—especially bridges, squares, and viewpoints—this tour is a strong fit. The tiny group size, the emphasis on composition/exposure time, and the variety of stops (including Devil’s Channel and the Castle finish) make it a practical choice for building a better photo portfolio in a single evening.
I’d skip it if you mainly want a slow, all-day tour or you’re not interested in camera settings and framing at all. This works best when you’re ready to experiment and get corrections.
If your goal is simple: learn while shooting and come away with photos you feel proud of, this one makes sense.
FAQ
FAQ
How long is the Prague photo tour?
It’s about 3 hours (approx.).
What time does the tour start?
The start time is 5:00 pm.
Where do I meet the guide?
You meet at Powder Tower, Nám. Republiky 5, Staré Město, 110 00 Praha 1.
Where does the tour end?
The tour ends at Old Town Bridge Tower, Karlův most, 110 00 Praha 1.
Is admission included for the stops?
Admission is listed as free for the stops on the itinerary.
What’s included in the price?
The tour includes a professional photographer guide.
Are food and drinks included?
No. Food and drinks are not included.
What group size should I expect?
The experience has a maximum of 3 travelers and is limited to 3 photographers.
Is it suitable for kids or families?
Children must be accompanied by an adult.
What’s the cancellation policy?
You can cancel for a full refund if you cancel at least 24 hours before the experience’s start time.
What language is the tour offered in?
It’s offered in English.